How to Work With Selections in Product Store
This demo showcases how to create and manage selections in product store
1. Introduction
Selections are sub-sets of products created in product store and used for distribution of specific ranges, colors for segmentation or during campaigns.
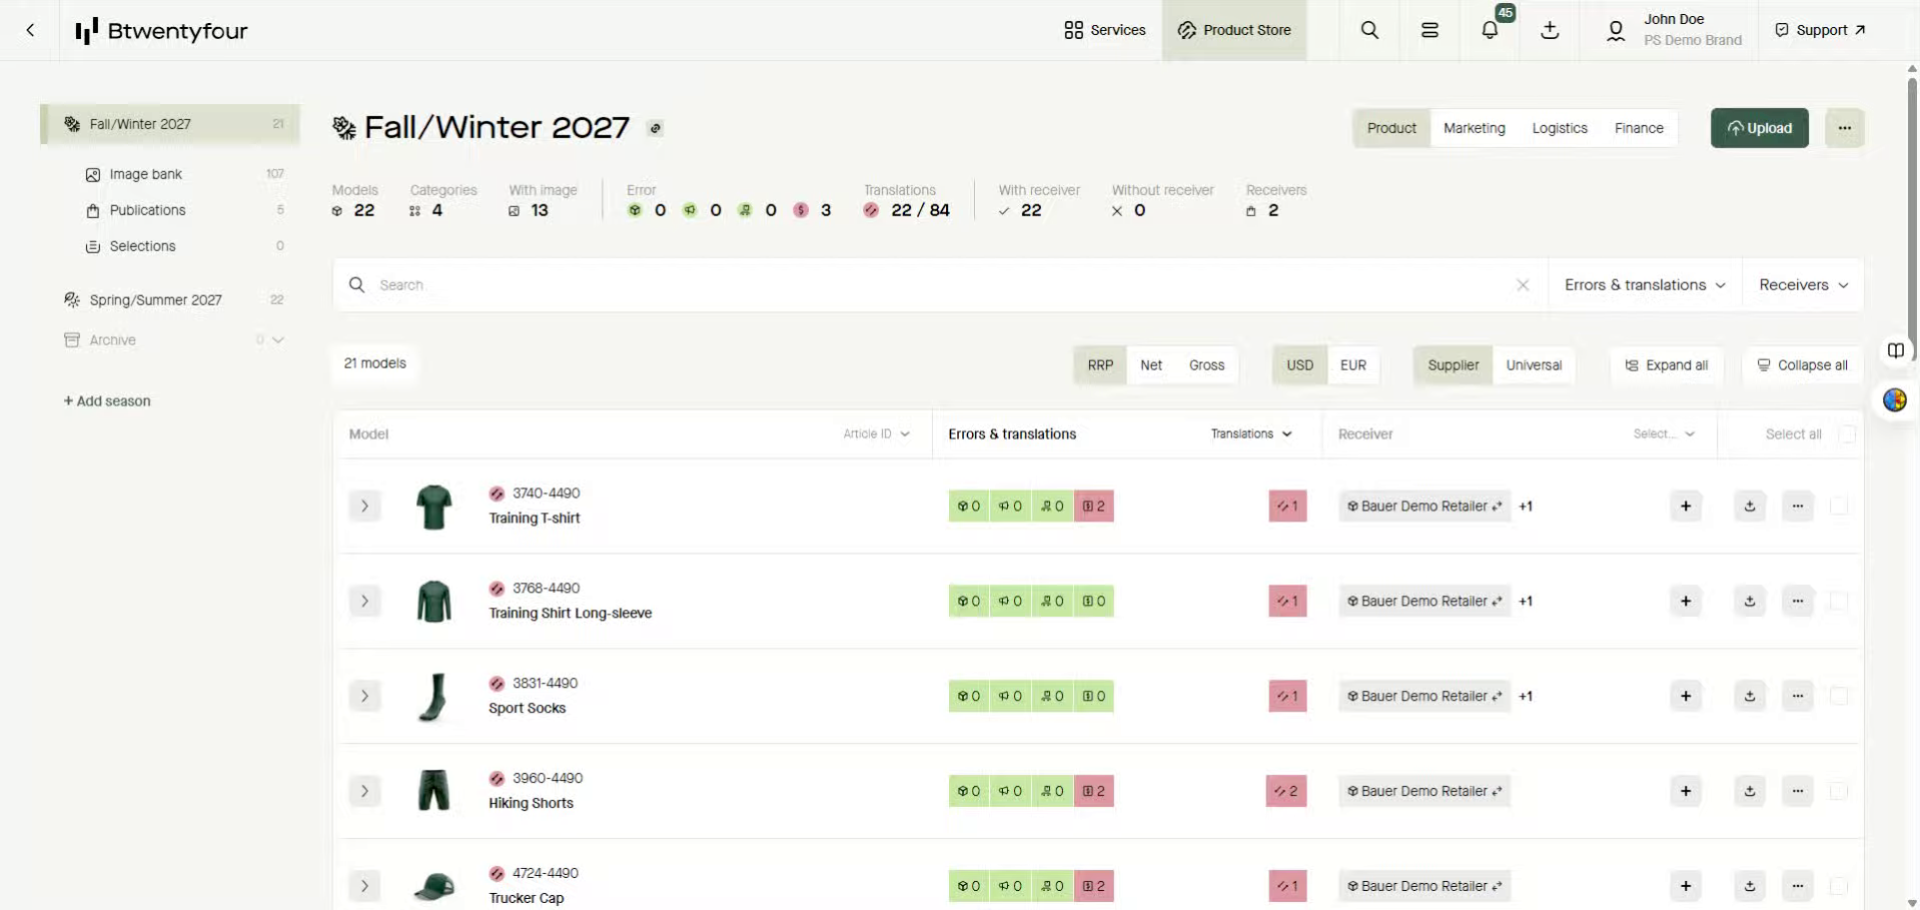
2. Select Products
Selection can be created in multiple ways, either selecting one or multiple models or sub-models in the model list, by using the cart functionality and add the products in the cart to a selection or using the cross season search.
In this example we will use the model list and select a couple of products from there.
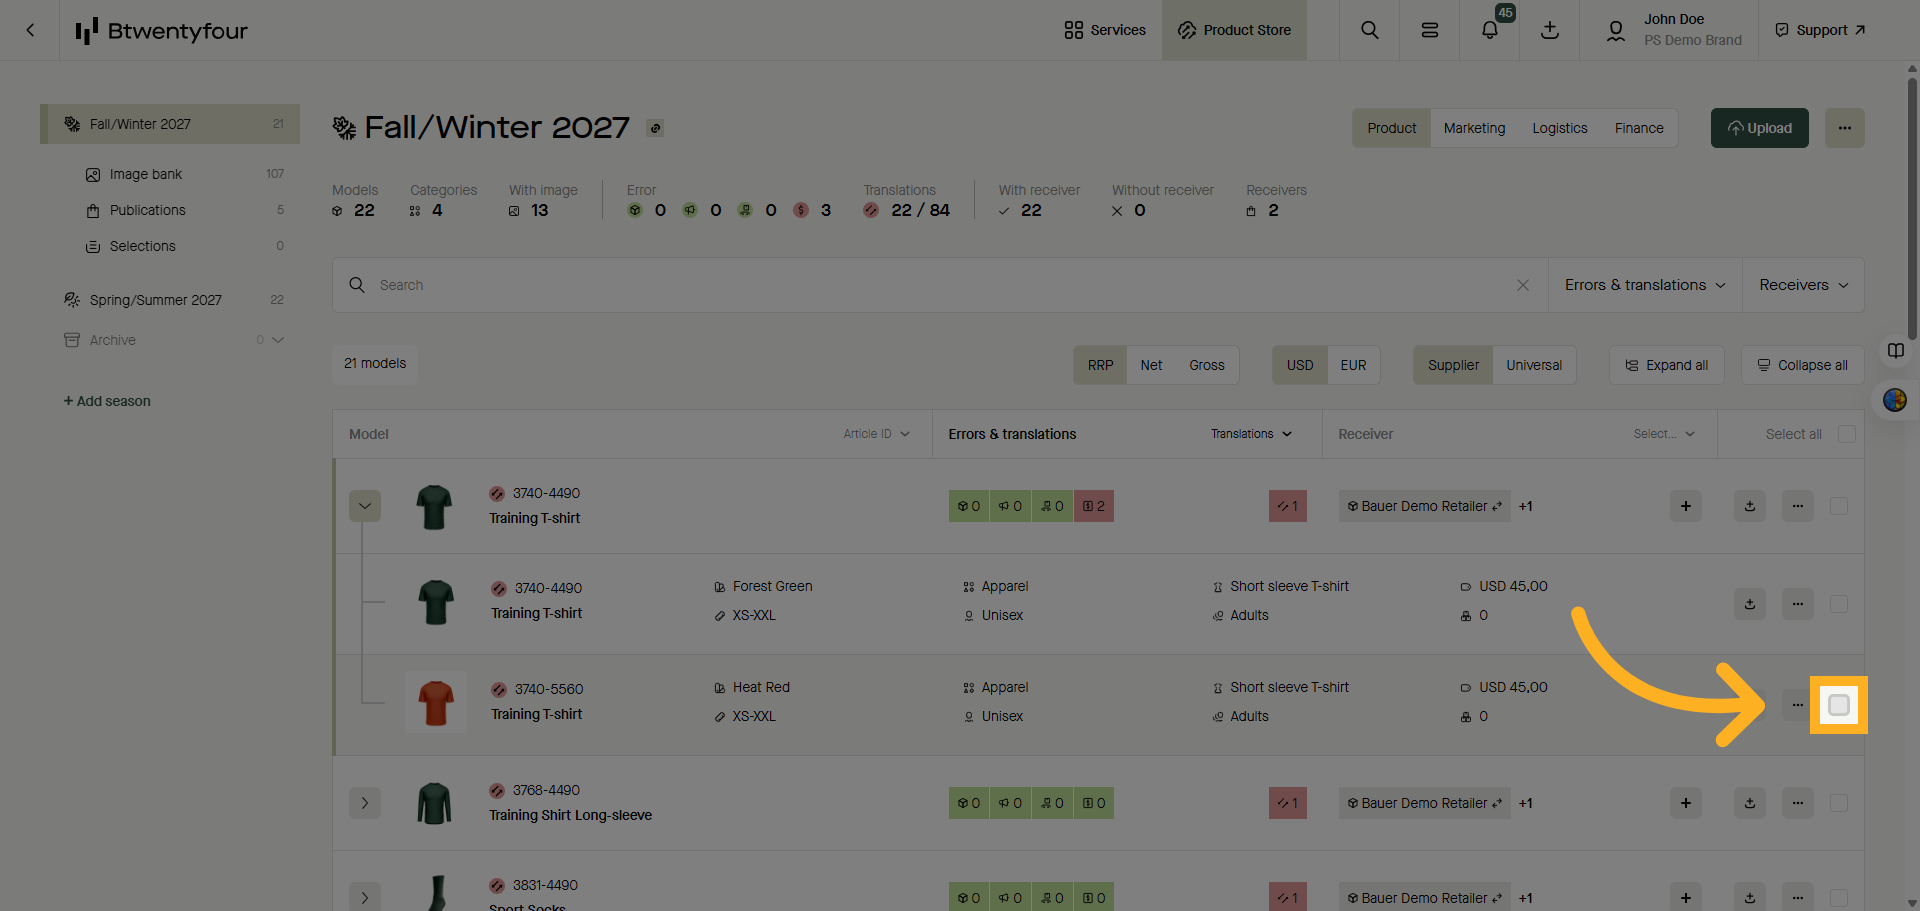
3. Confirm Selection Feature

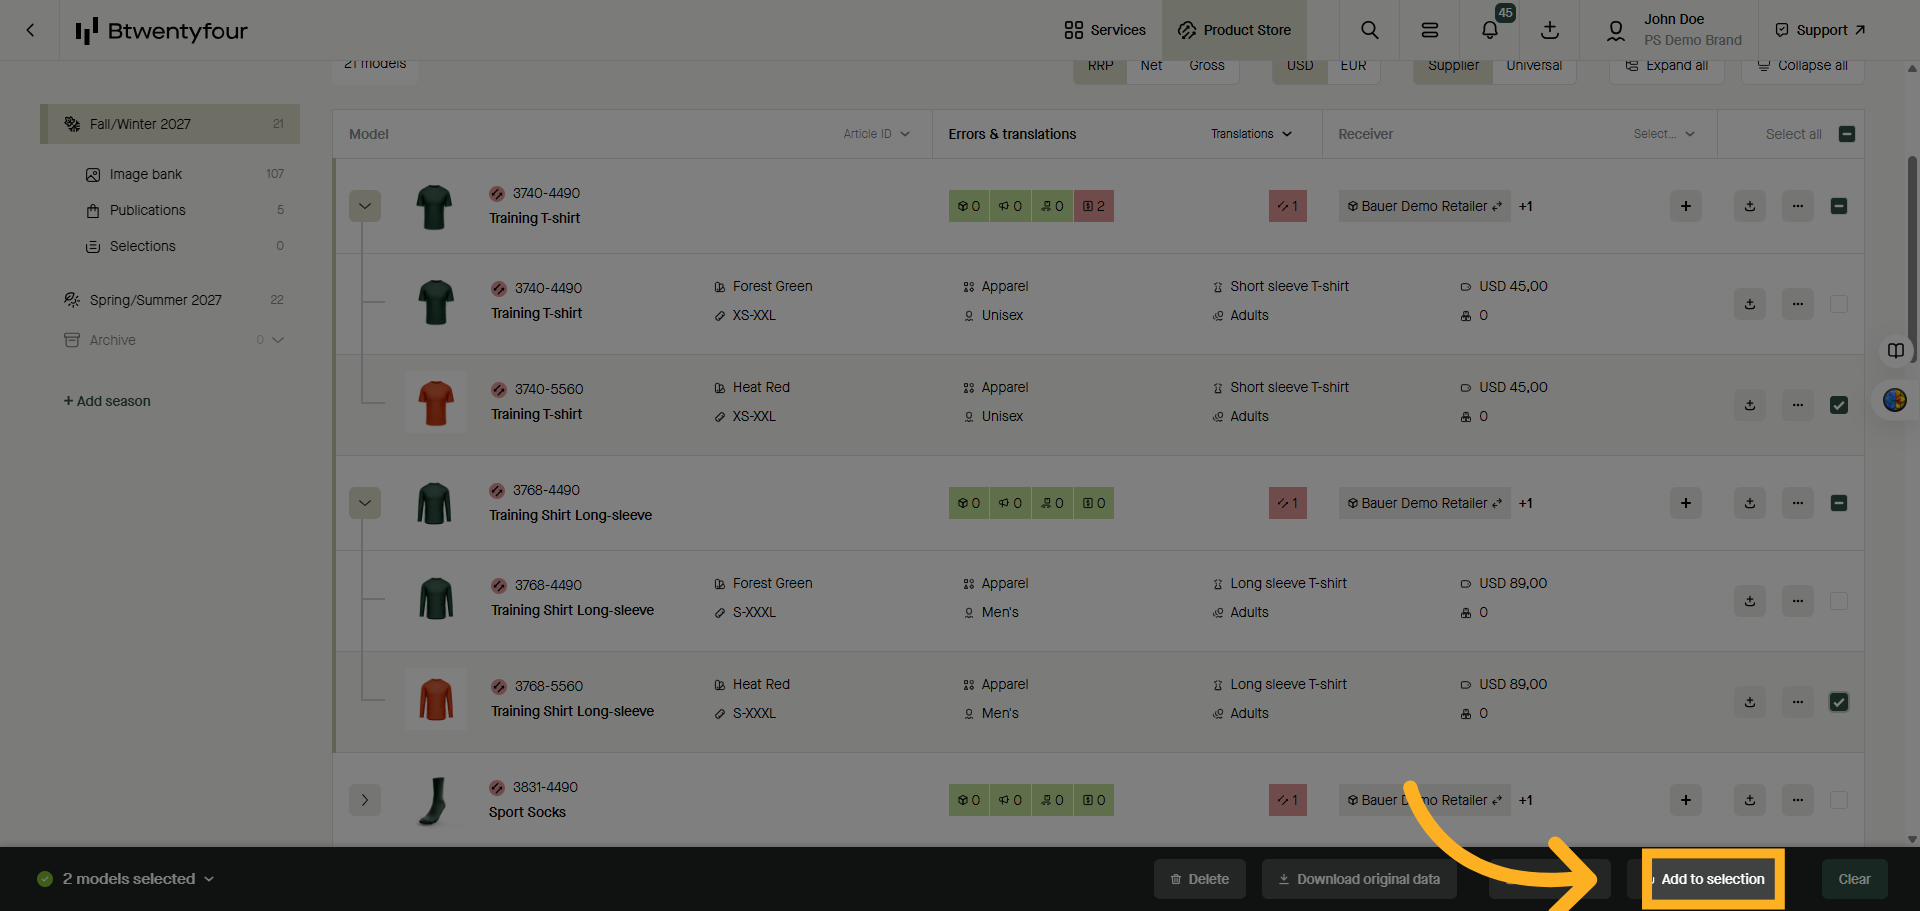
4. Add Products To Selection
Once you are happy with your selected products click add to selection.
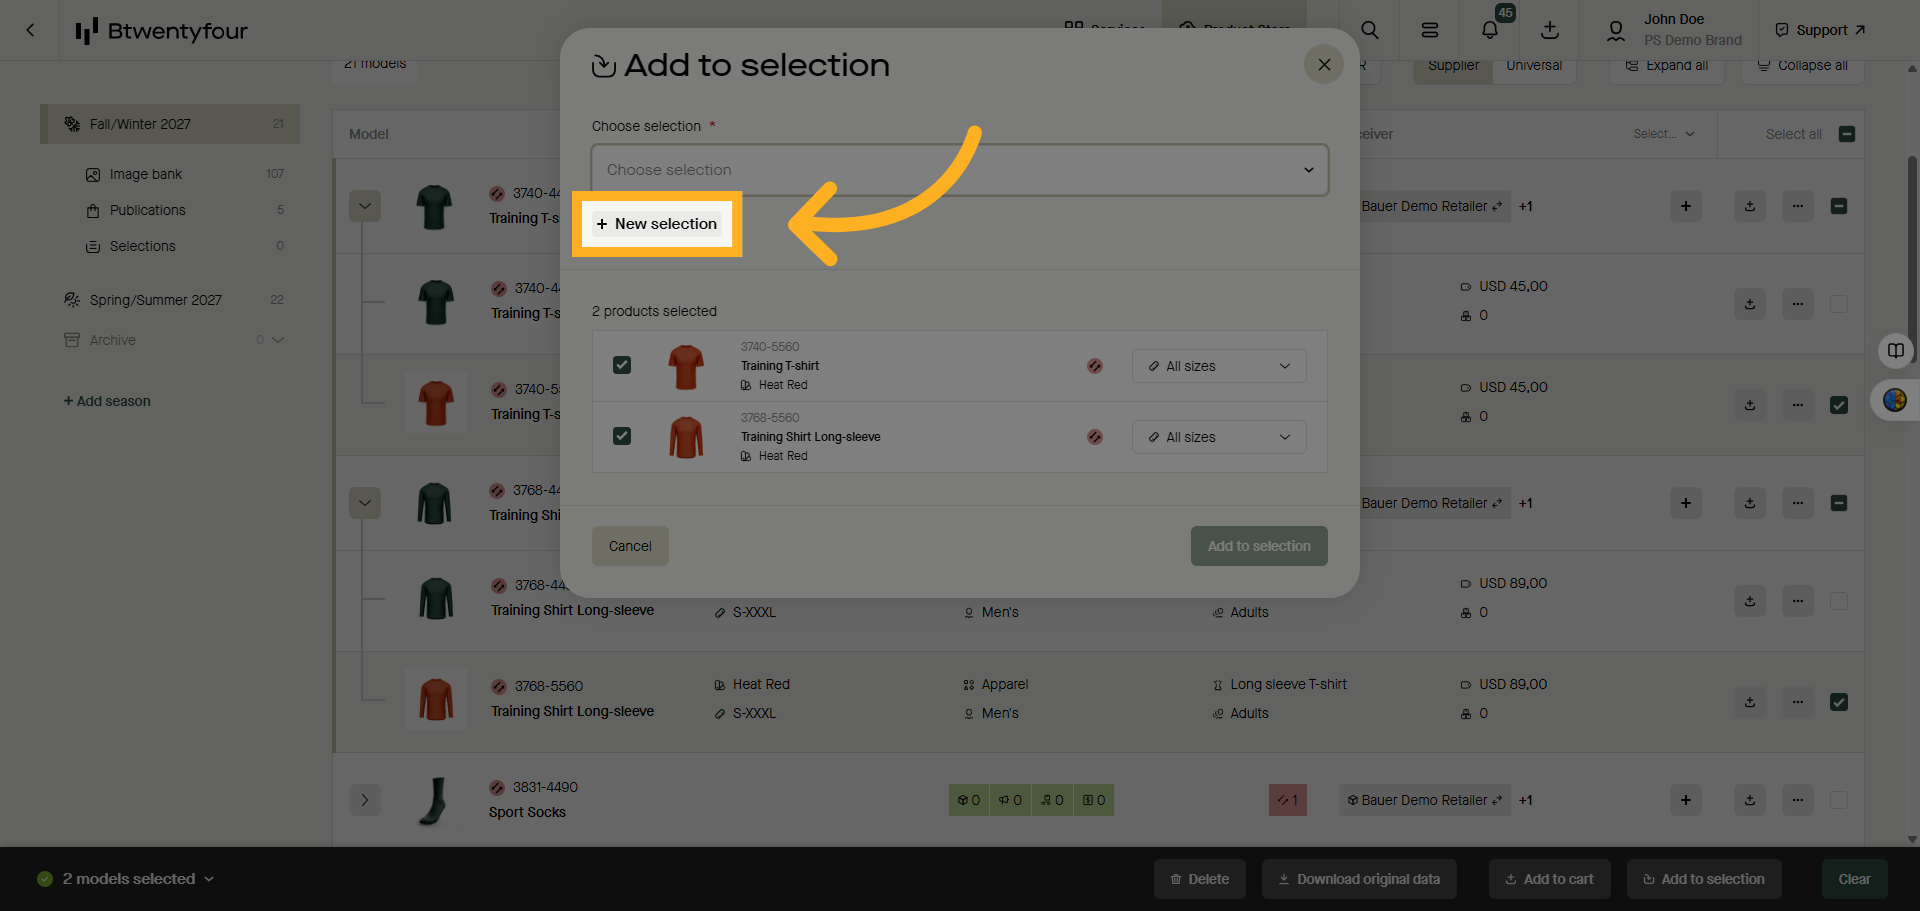
5. Create New Selection
You can choose to add your products to an already existing selection or choose to create a new by clicking "New Selection"
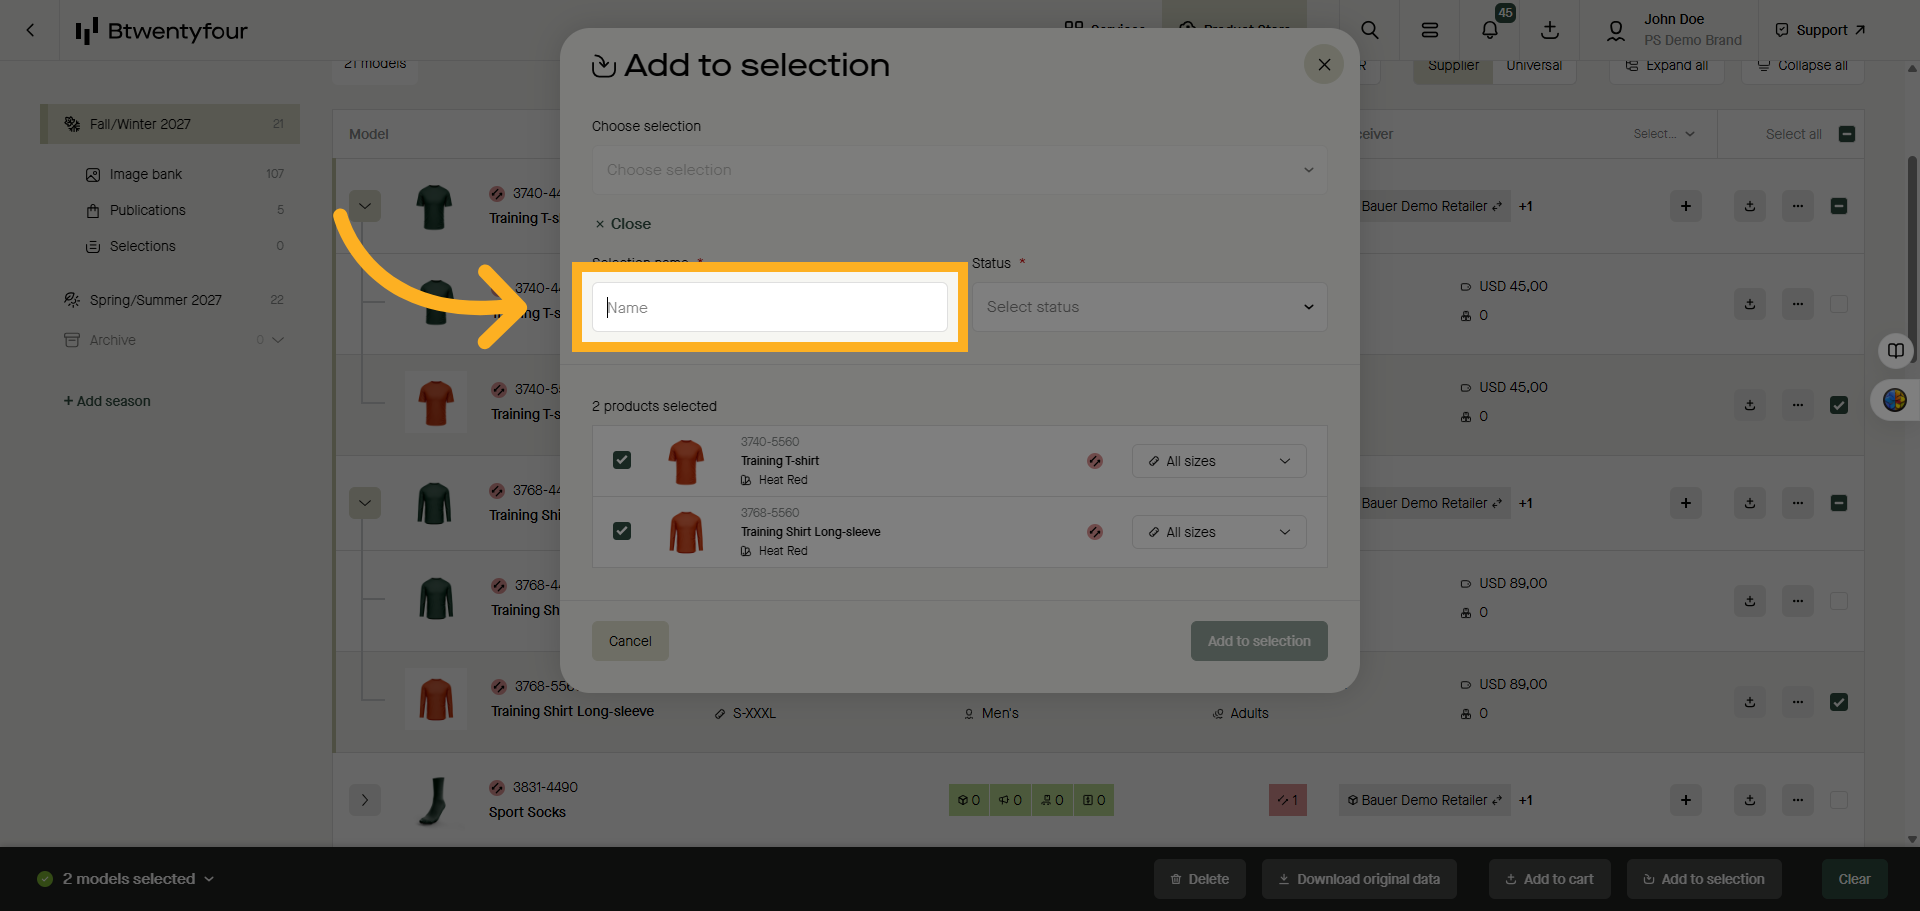
6. Select Selection Name Field
Click selection name and give your selection a name
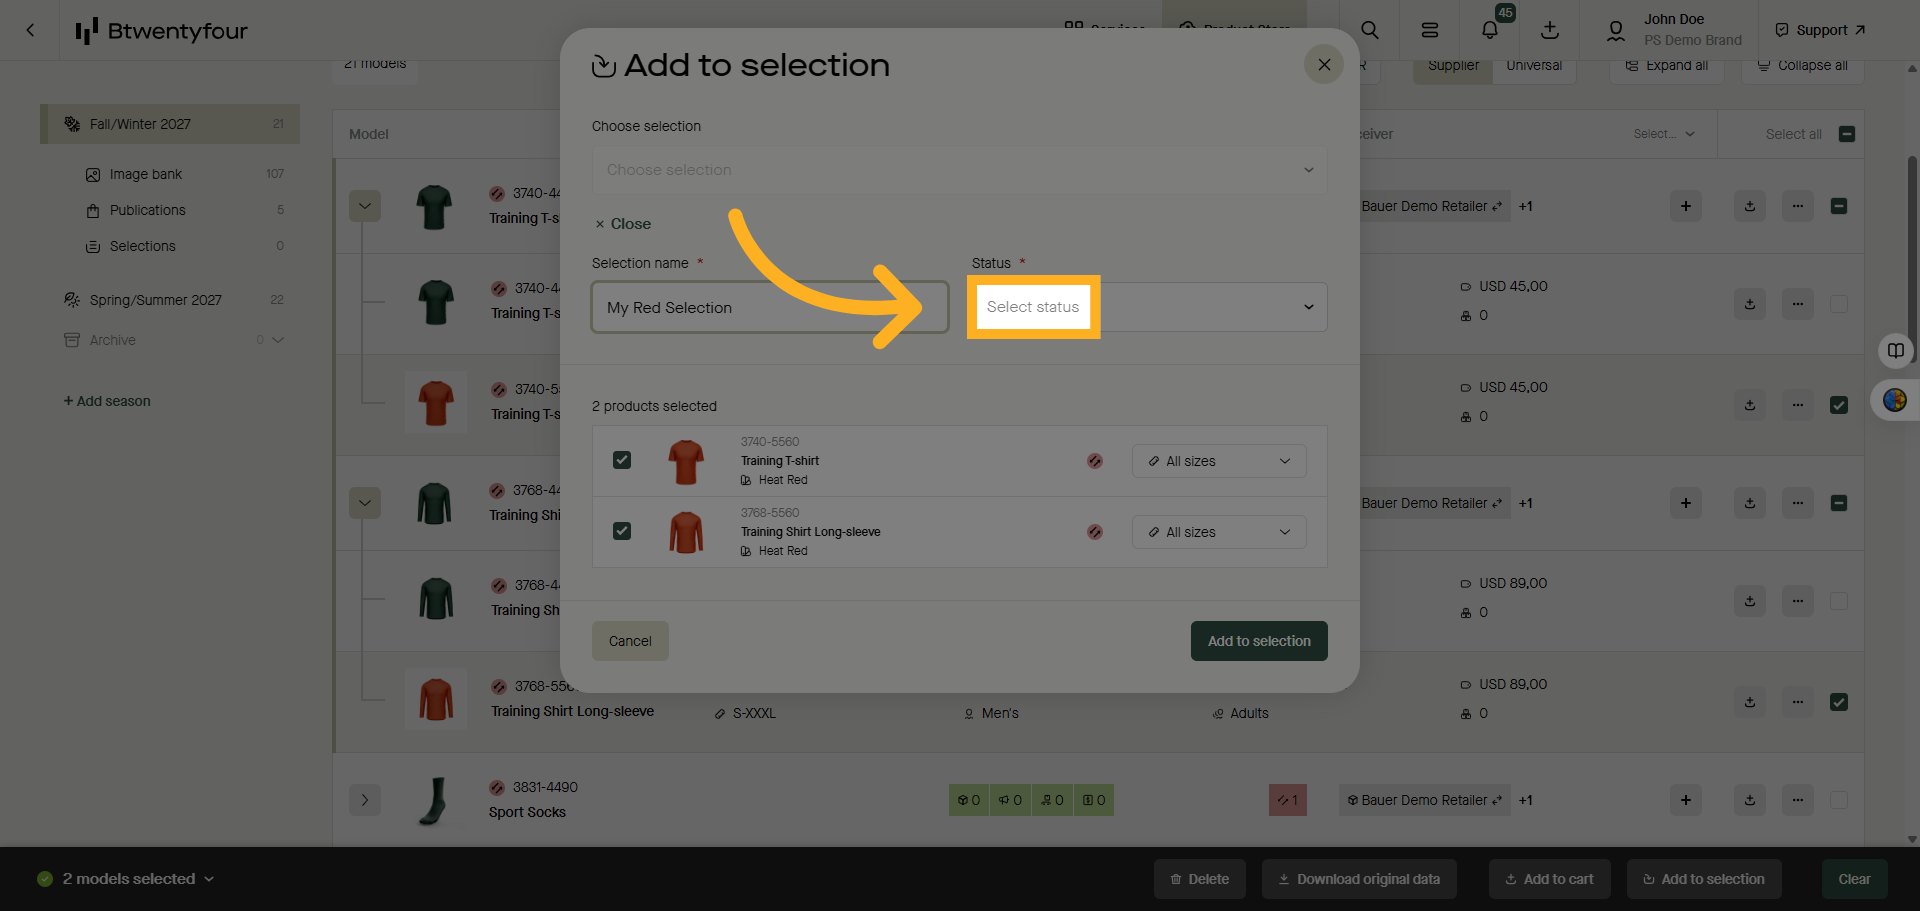
7. Open Status Options
Set status of your selection. The status can either be private, meaning only your user can access and edit it, shared meaning all users registered in the same account can edit and access, or public meaning everyone in your organisation can edit and access it.
8. Open Size Filter
If you want to exclude specific sizes you can open the size selector and uncheck the sizes you wish to exclude.

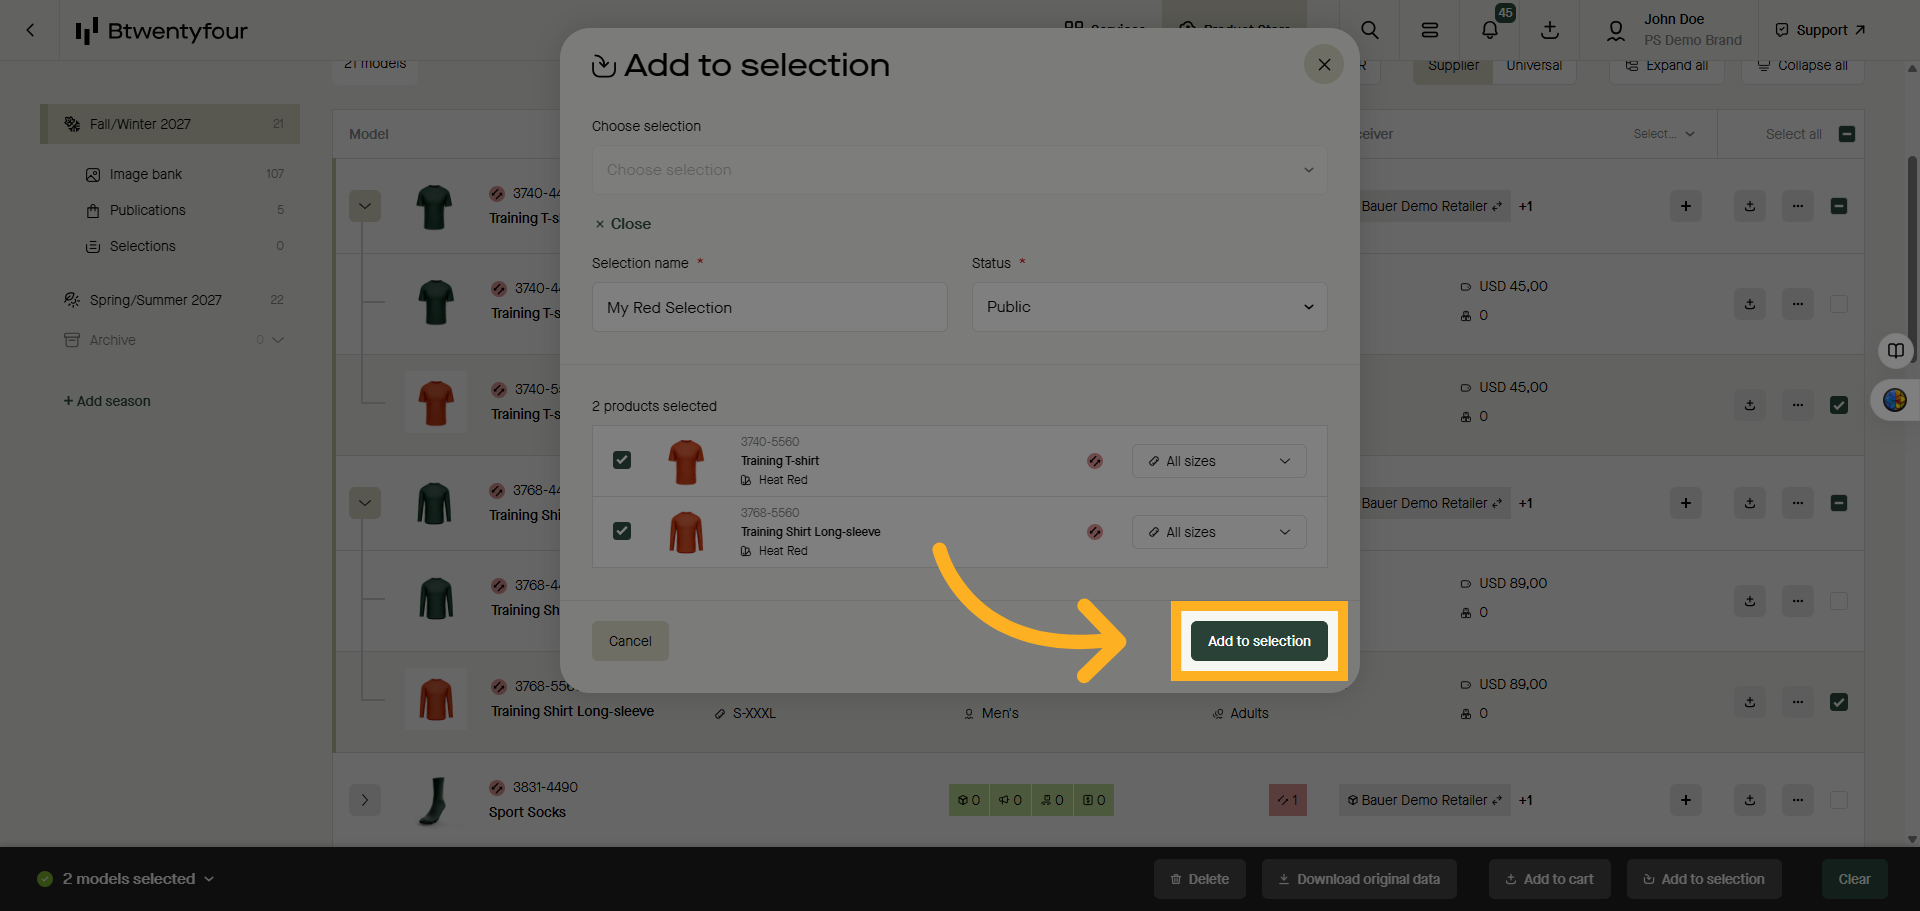
9. Add To Selection
Click Add to Selection to add the selected products to the selection, or click save and download to download the selection in excel for editing and enrichment of the products.
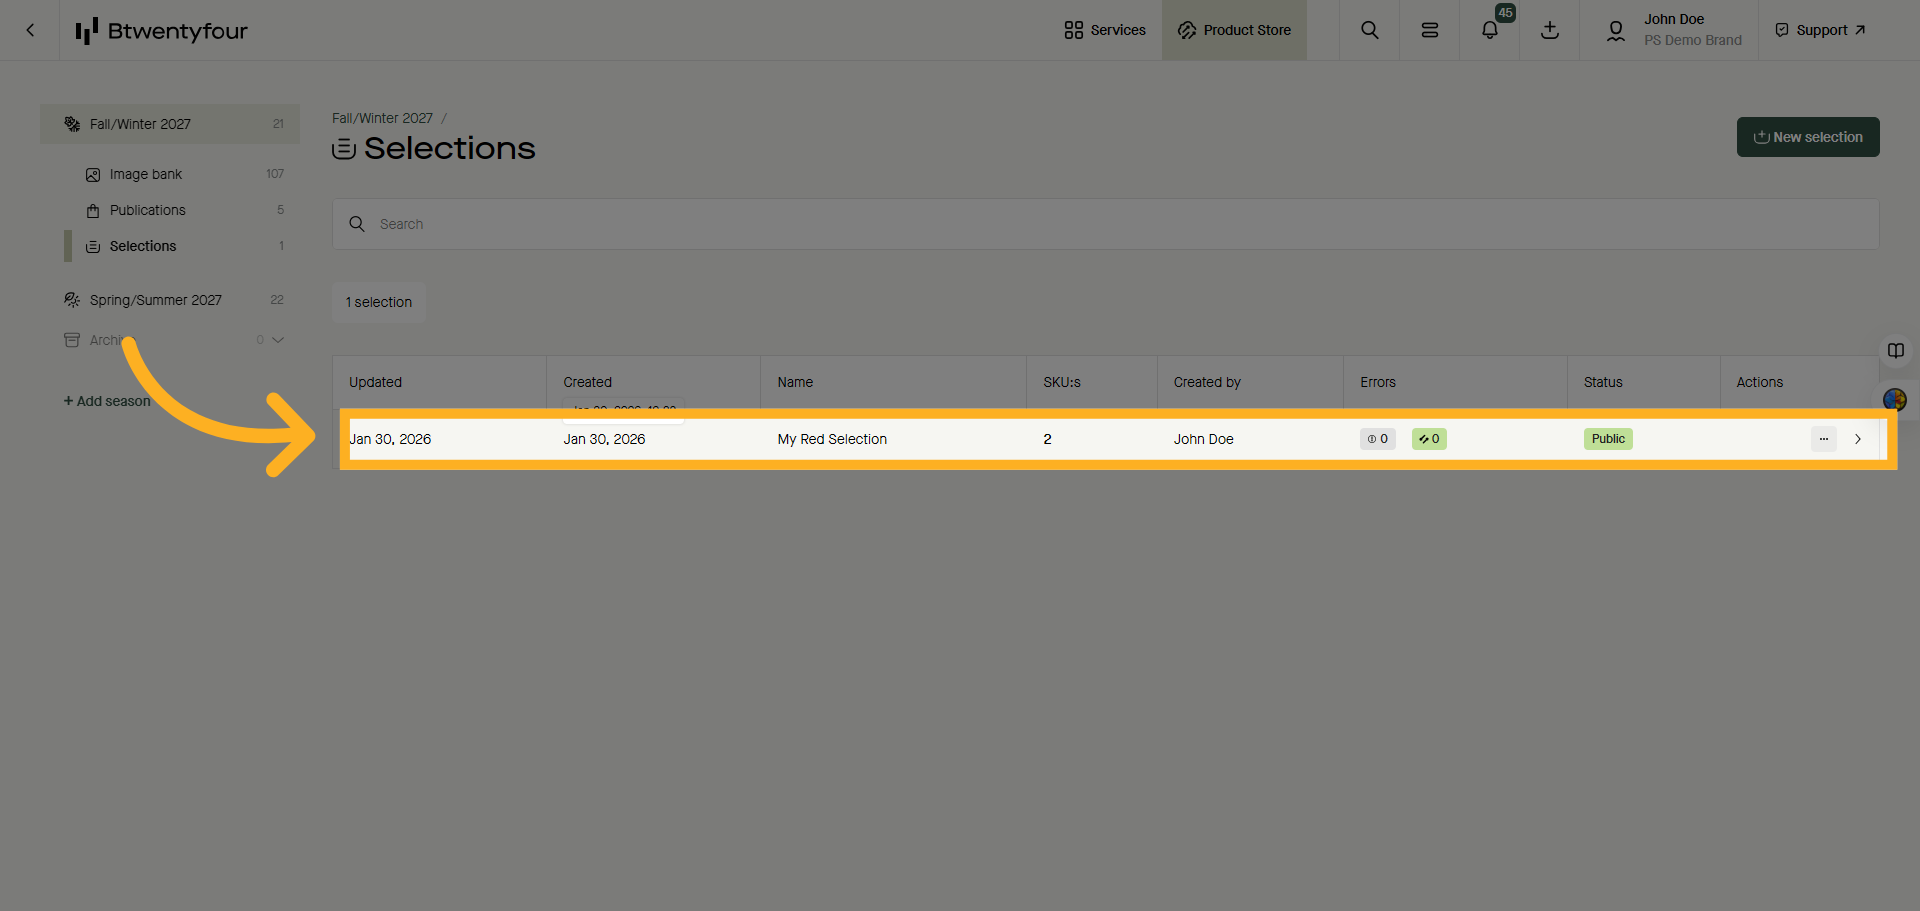
10. Access Selections Menu
To access your selections go to the selections menu.

11. Open Selection Date
Open the selection by clicking it
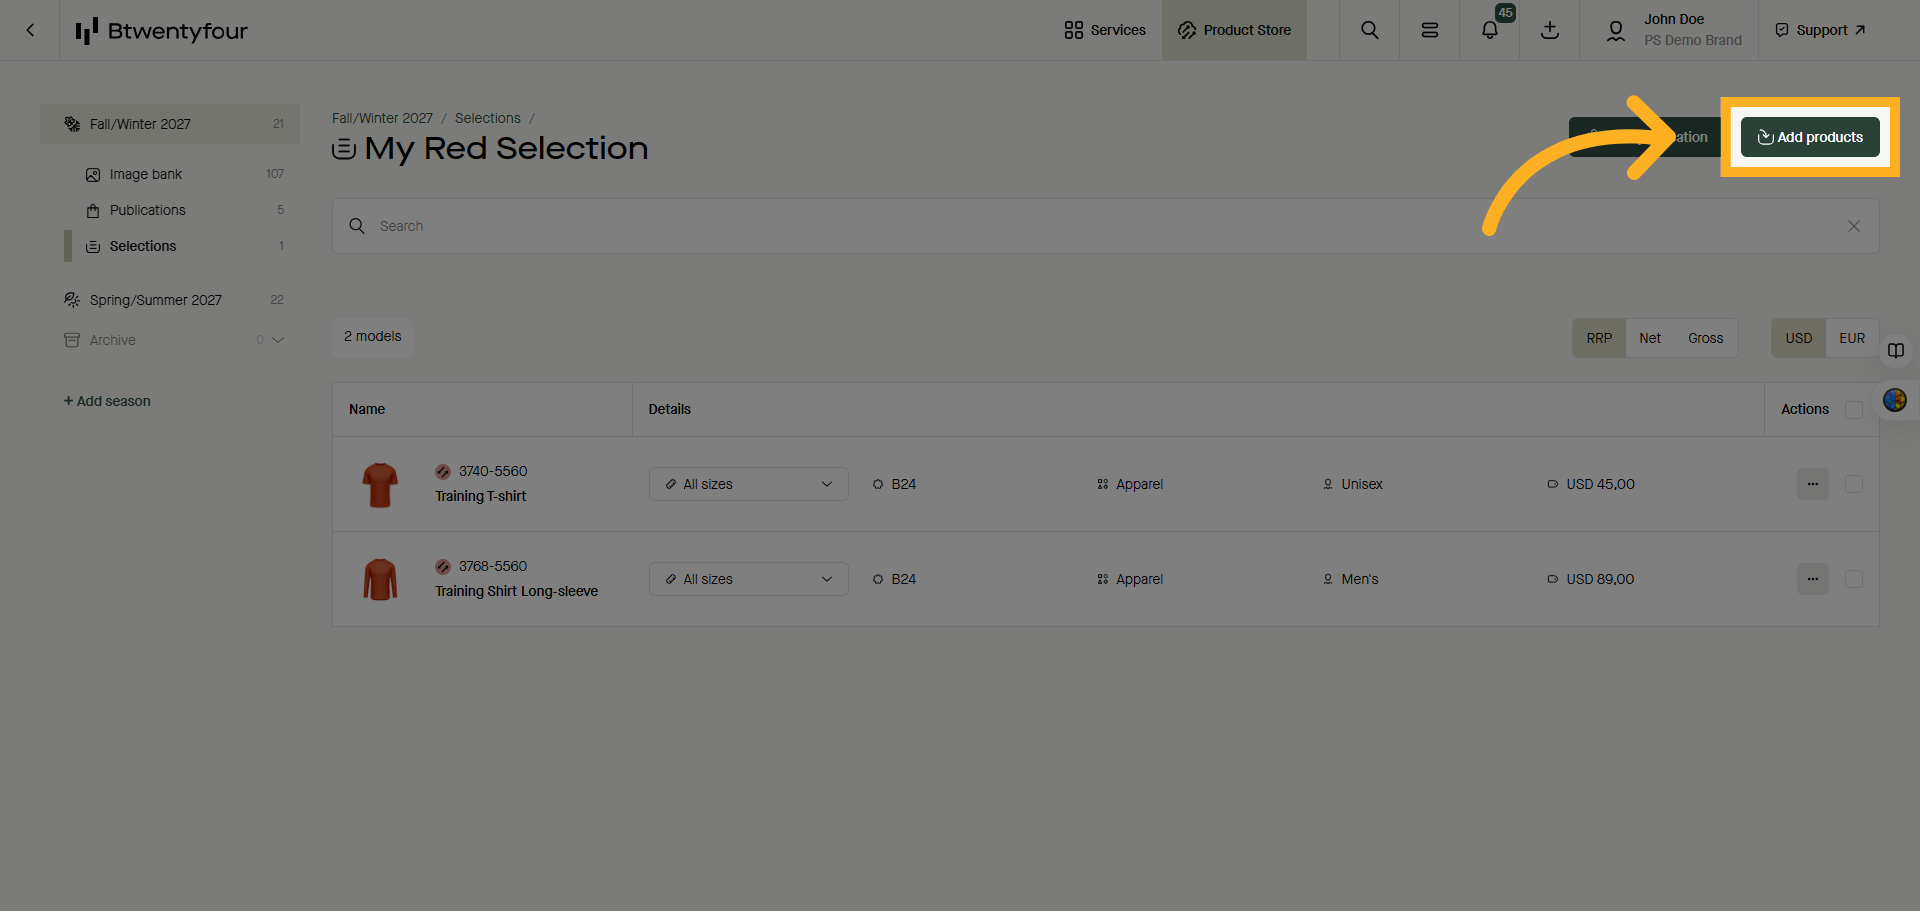
12. Add Products To Selection
From the selection you can either add more products to it by clicking add products
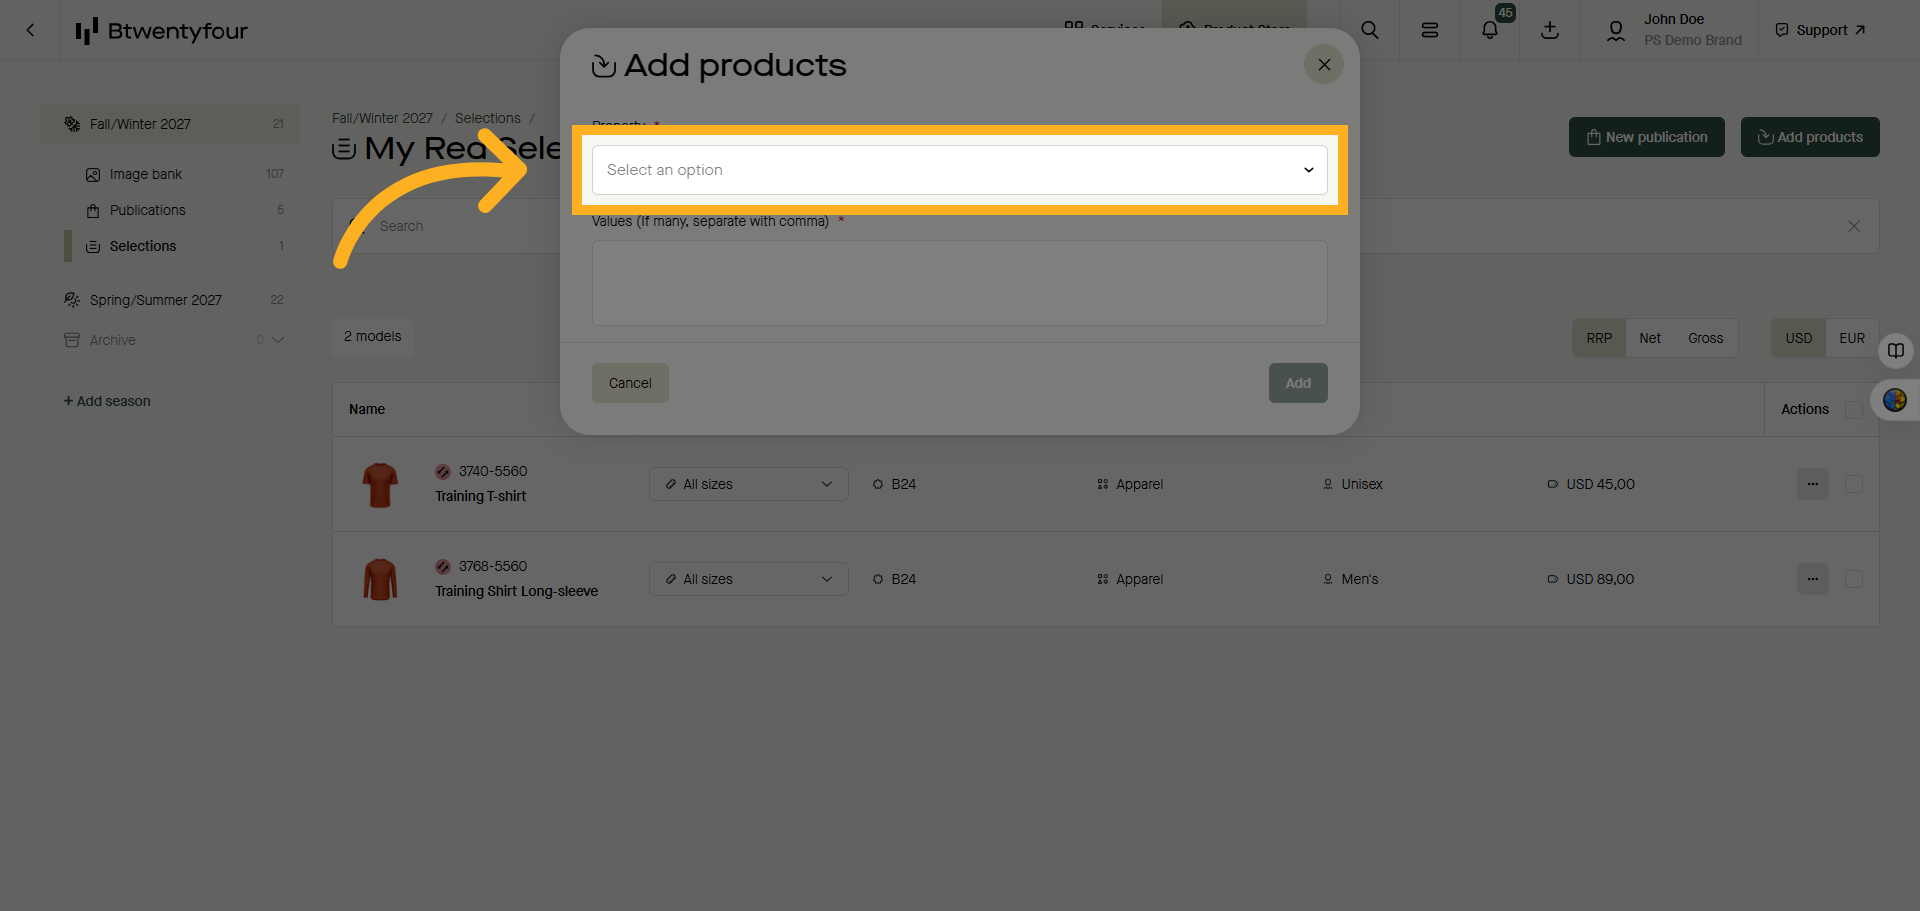
13. Select Property Option
Choose an option from the property filter, for example model number and paste the model numbers of the products you wish to add in the text box belo - then click add.
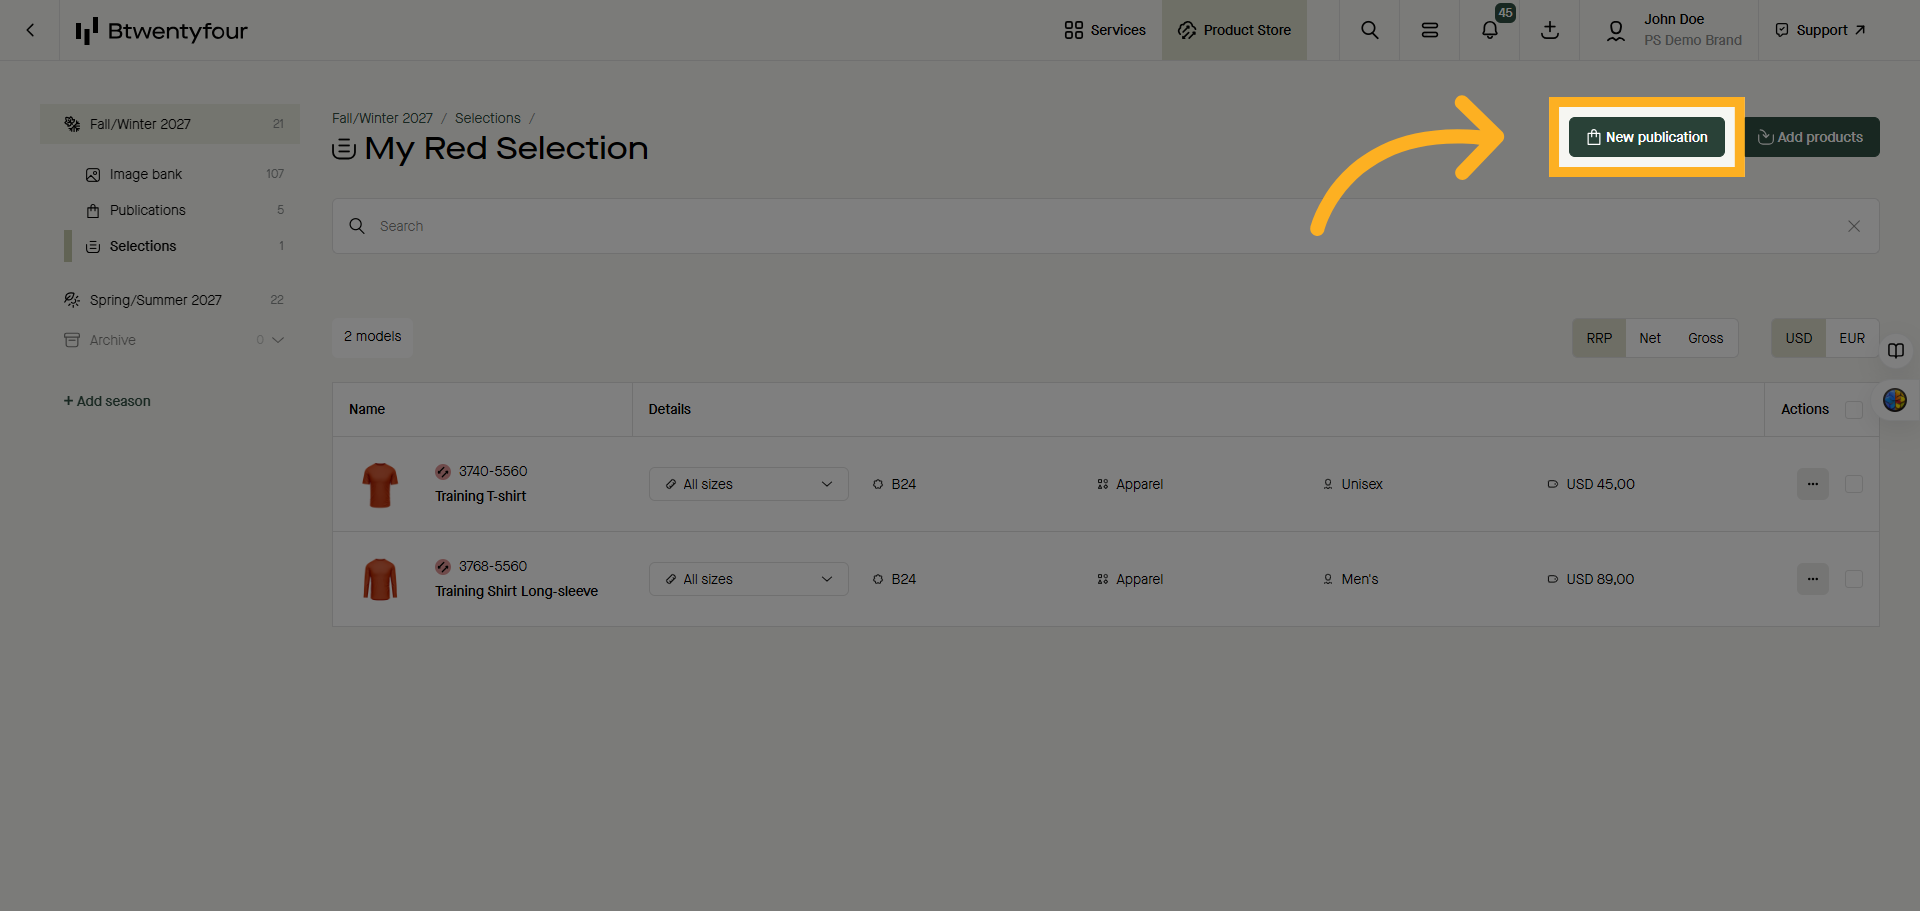
14. Create New Publication
Once you are happy with a selection you can choose to create one or multiple publications from it by clicking "New Publication"
15. Select Publication Name Field
Name your publication
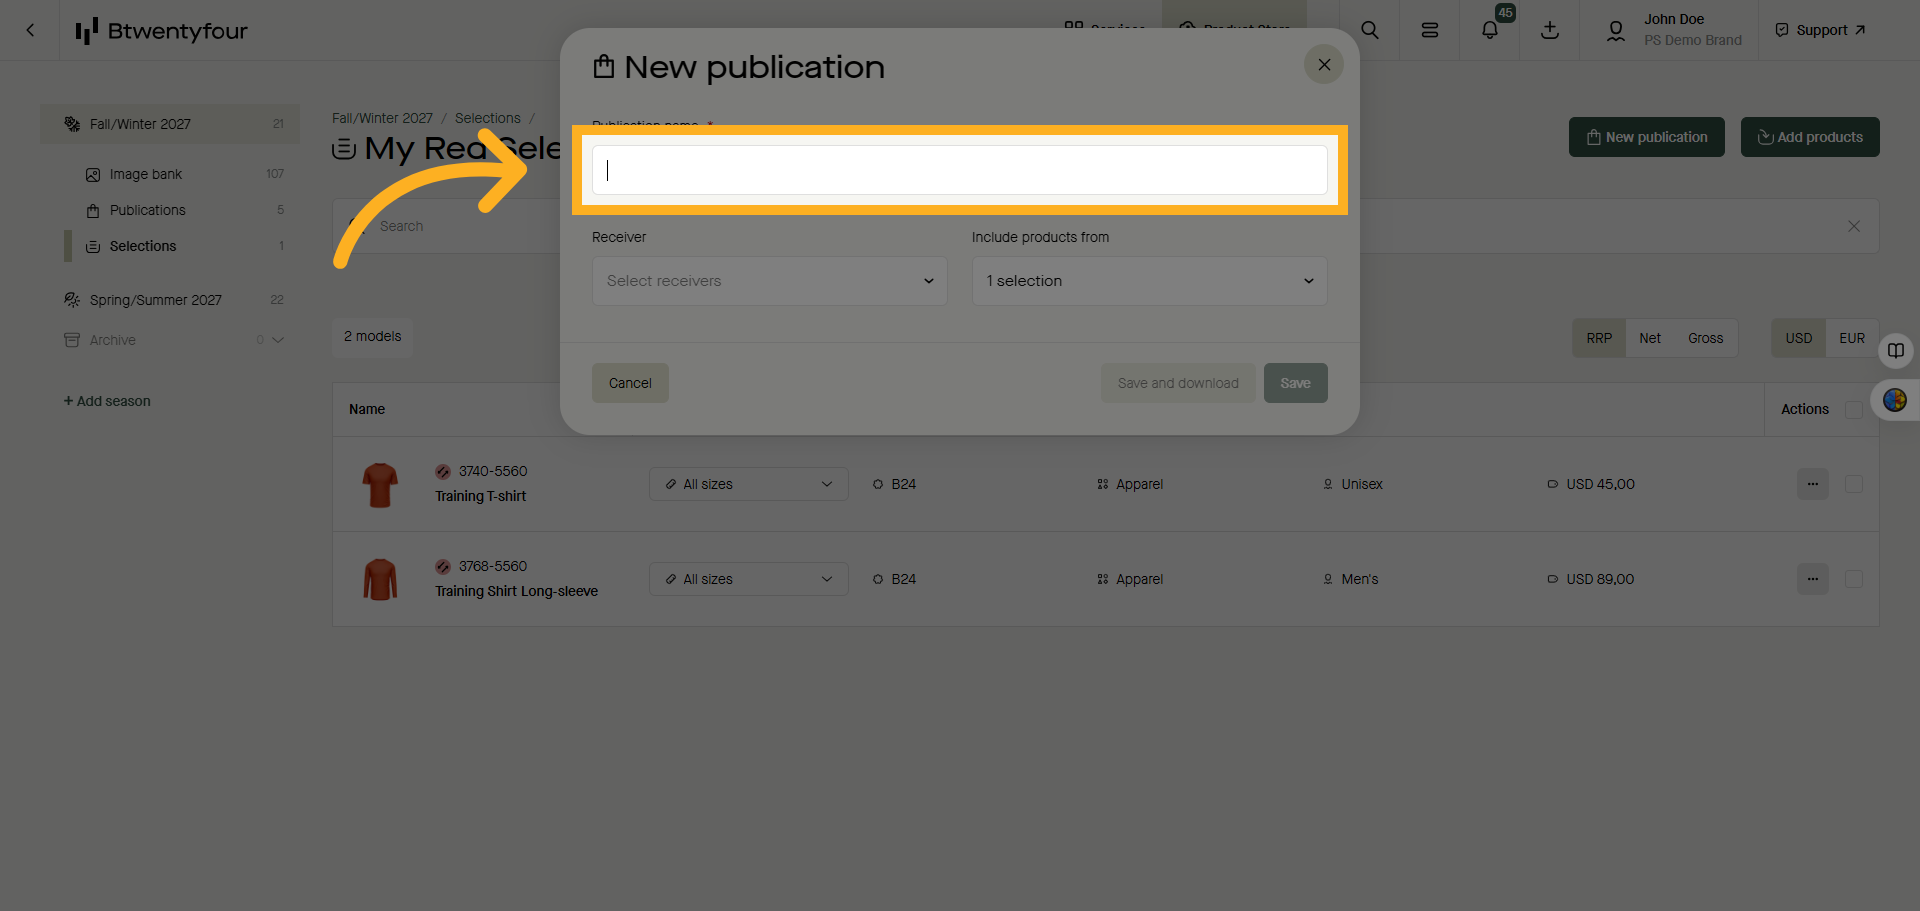
16. Select Receivers Field
Select the recipients you want to send the publications to.

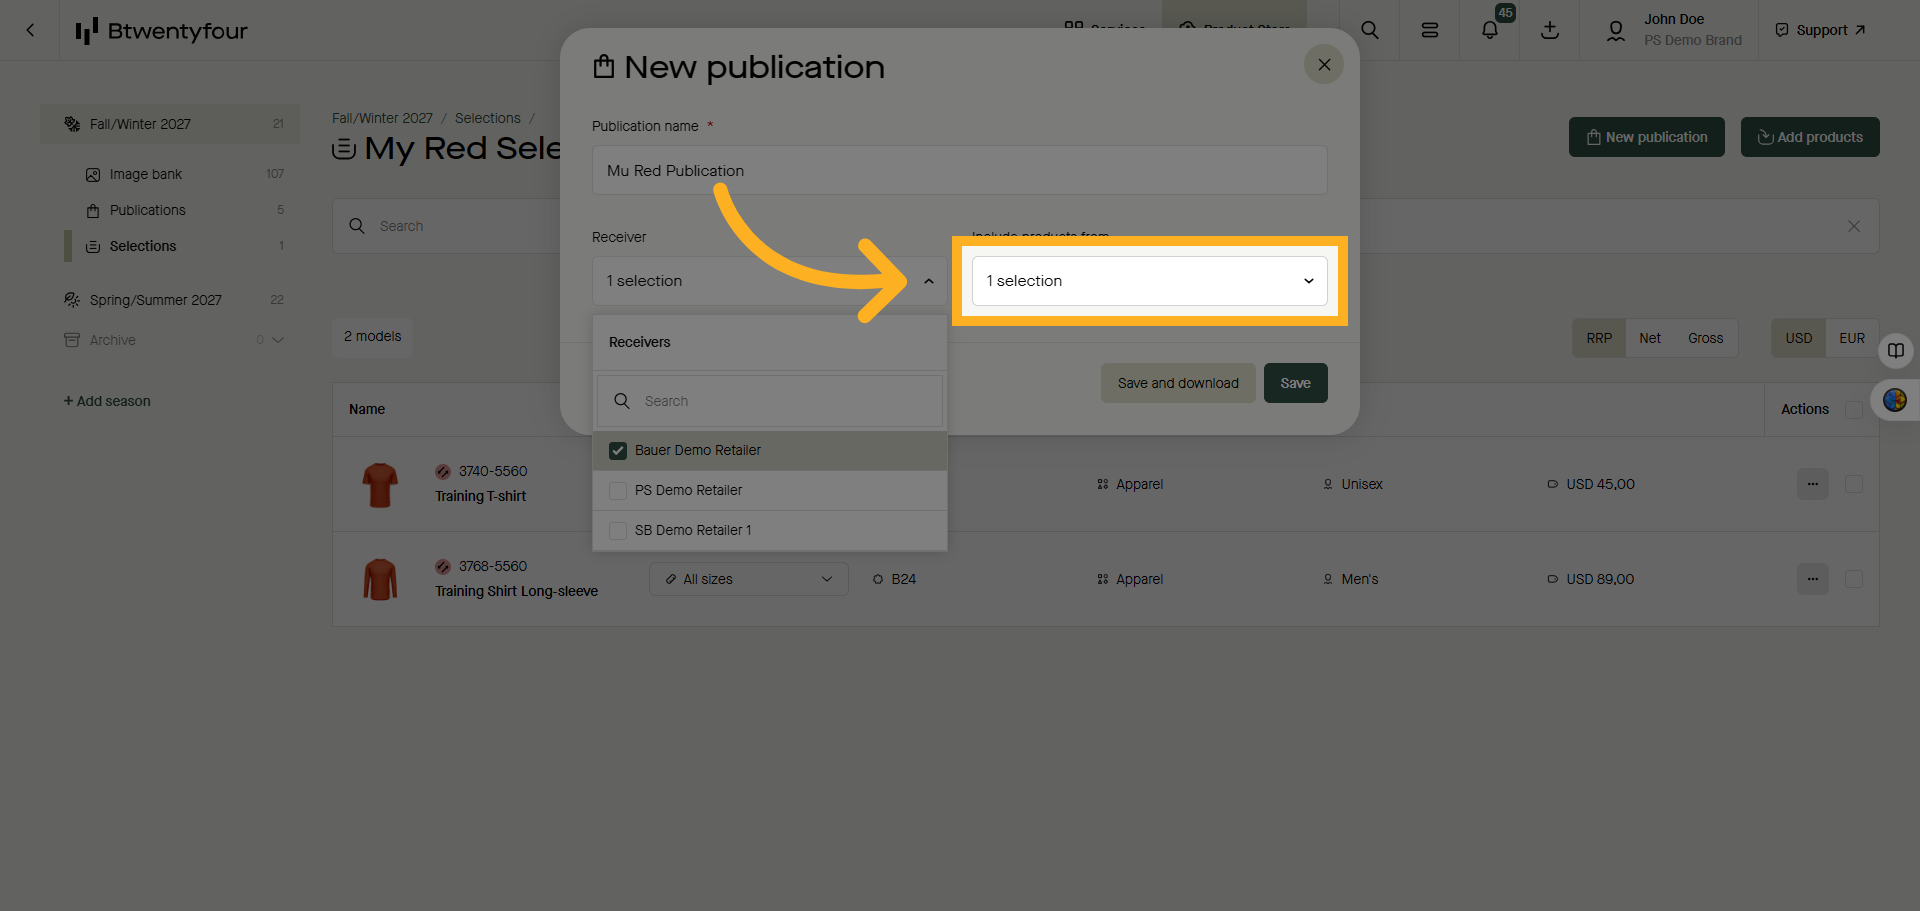
17. Include more products
If you want to add more product from other selections or from your cart use the "Include Products From" feature
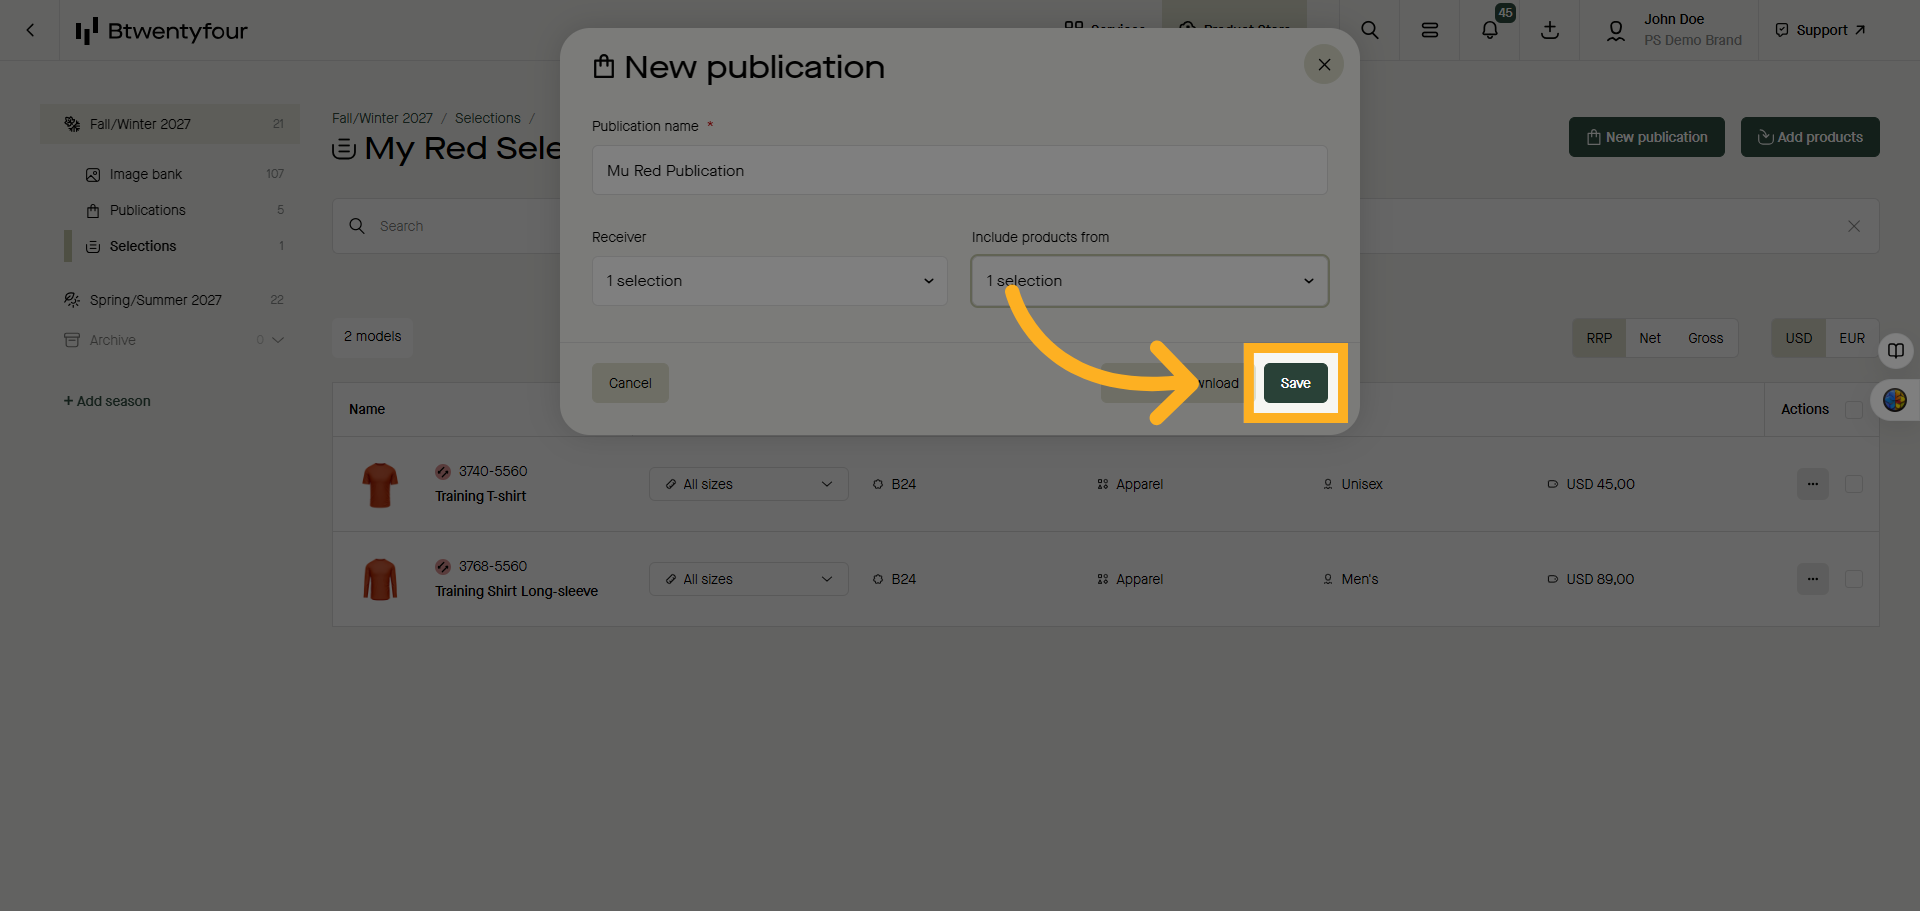
18. Save Publication
Save your publication to finalize and prepare it for sharing or download it to add or change the data in it prior distribution.
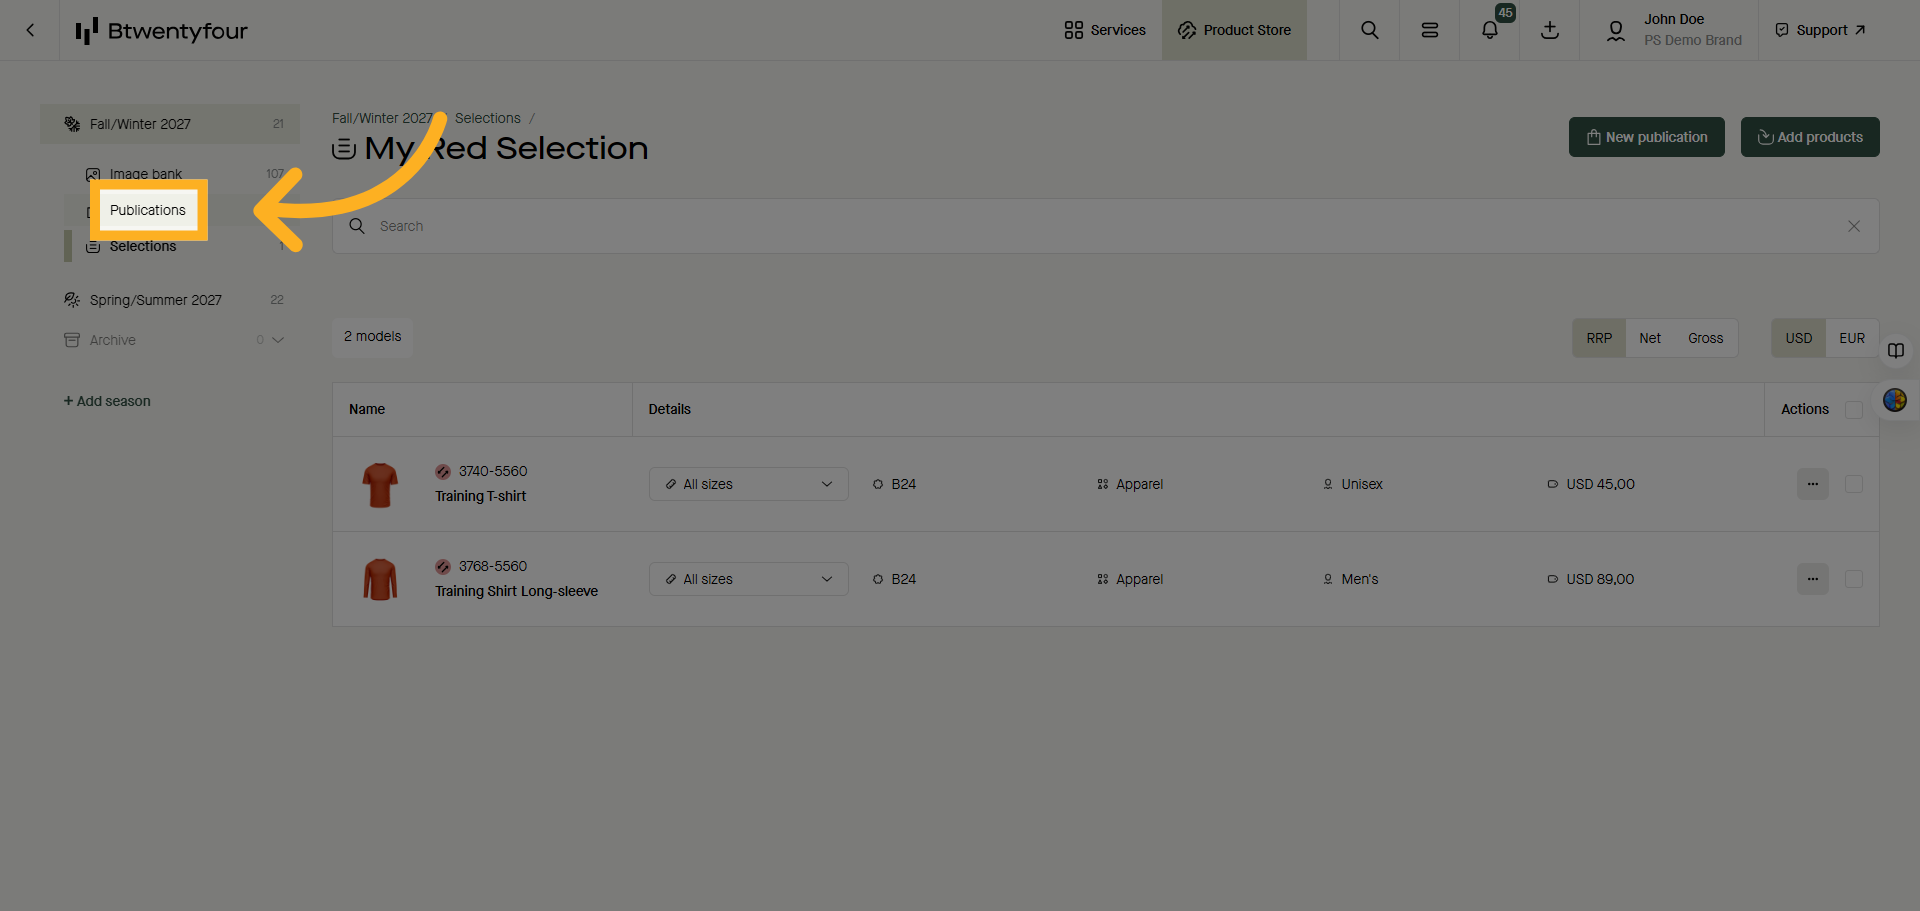
19. Open Publications Menu
Once a selection has been turned into a publication it can be found in the publications menu from where you can validate and publish the data
Thank you for watching!